If you're interested in learning about the Montessori Puzzle Maps, you've come to the right place.
As a trained and certified Montessori educator, I'm very familiar with this material.
These colorful maps are used in a variety of ways throughout the primary and early elementary years in Montessori schools.
Parents who homeschool their children using Montessori's methods generally tend to include Puzzle Maps in their geography curriculum purchases.
That's how important and versatile this material is.
So, whether you're here out of curiosity or you're considering adding this material to your homeschooling items, you'll benefit from this article.
I'm going to go over a bit about the Montessori Puzzle Maps and then I'm going to explain to you how to present them to a child.
So, let's get right to it.
(This post contains affiliate links. Purchasing from these links costs you nothing extra, but helps with our website upkeep.)
What is the purpose of puzzle maps in Montessori?
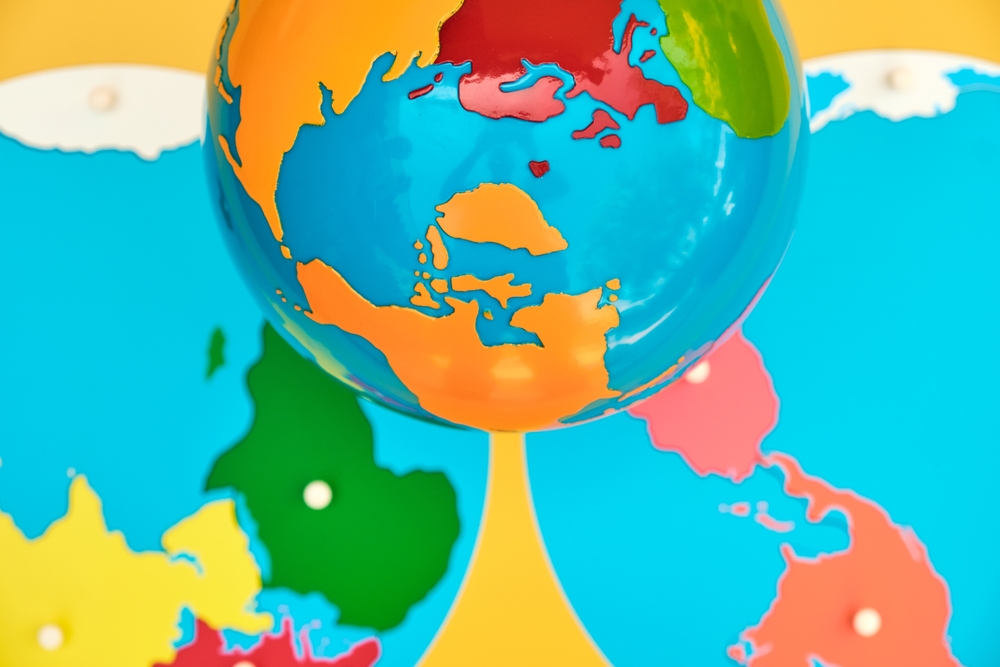
The Puzzle Maps are used to teach children that the round earth can be represented on a flat map.
They help kids learn about geography, as well as how to use maps.
Children learn the names of the oceans and continents with these maps, too.
In Montessori, kids learn about culture and geography alongside each other, which can have lasting benefits and contribute to Montessori's concept of Cosmic Education.
Puzzle Maps will be used alongside picture cards and other teaching tools to teach children that people all over the earth have different customs, languages, and traditions.
Through their work with this material, children also strengthen their pincer grasp through the fine motor practice the knobs on the puzzle pieces provides.
- Montessori astronomy geography teaching materials, suitable for…
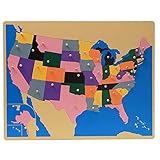
- Know the location and layout of the states in the U.S.A. (with a…
- Know the names of the states in the United States
When are Puzzle Maps introduced?
Puzzles Maps are introduced after children have worked with the Sandpaper Globe and the Colored Continent Globe.
This happens anytime after the age of about 3 years old, when the child is ready.
How do puzzle maps work?
The Puzzle Maps are flat wooden boards with pieces cut out. They work like any other knobbed puzzle, only with much smaller knobs to help encourage a proper pincer grasp for future handwriting.
Children start by working with the world puzzle map, then move onto the puzzle map of their own continent.
Puzzle maps of different countries are also used, though they are not available for every country.
Below is a thorough explanation of how puzzle maps are presented.
How to present the Montessori puzzle maps
Here, I've typed up the initial presentation for both the world map and the continent map.
You would present a country map in the same way. For a country with many different states, you can present the states in manageable groups in separate lessons.
If you're looking to buy the maps, here are some shopping links.
These are just the links to puzzle maps for the majority of my readers, but most of them lead to the Adena Montessori website, where you'll find many more.
- Montessori Puzzle Map of the USA
- Montessori Map of the World
- Montessori Map of North America
- Montessori Map of Australia
- Montessori Map of Europe
- Montessori Map of France
Puzzle Map of the World
If available, you should have the Colred Continents Globe on the table for this presentation.
This is the presentation of the Puzzle Map of the World and the map should be presented initially as a completed map, meaning the pieces should be in their proper places on the map board.
- Confirm with the child that they know what the colored and blue areas of the map are. (Continents and oceans. They will know this from working with the globes.)
- Tell the child that the water on the map represents separate oceans.
- Ask the child to compare the globe with the Puzzle Map and tell you about the differences and similarities.
- Point out to the child (if they haven't already noticed) that each colored continent and body of water on the map can also be found on the globe.
- Ask the child to find the continent puzzle piece on which they live and pick it up from the map.
- Invite them to trace the puzzle piece with two fingers from their writing hand.
- Ask the child if they can find the same continent on the globe and trace it with their fingers, as well.
- Have the child place the puzzle piece next the to matching continent on the globe, then return it to its place on the puzzle map.
- Invite the child to repeat this with each continent puzzle piece until all of them have been done.
- Do this also with the oceans. (The oceans cannot be removed from the puzzle map, but the child can still identify them.)
- Teach the child that each continent and ocean has a name and tell them the names.
After the child is familiar with this activity, you can introduce them to the 3-part cards, have them trace the map pieces onto paper, and encourage other map-related activities.
The puzzle pieces can also be removed and placed in a basket or to the side so the child can complete the puzzle.
At this point, they may also enjoy listening to and singing the Continent Song.
Continents Map
After the child has worked with the Puzzle Map of the World and completed some of the other world map activities, you can introduce them to the Continents Maps.
When introducing this material, you'll also want to have the world puzzle map at the table, keeping the 2 maps side by side.
The puzzle map of the child's home continent is generally introduced before the other continents.
As with the previous presentation, the continent map should be complete when starting the presentation.
- Invite the child to select the piece from the world map that represents the continent map they'll be working with.
- Have them trace the piece with their 2 fingers, just like in the previous presentation, and then put the piece back in the world map.
- Confirm that the child knows the name of the continent by asking them to name it aloud.
- Have the child trace the edges of the continent on the continent map.
- Remind the child that this is the continent on which they live and ask them if they can point to the country where they live and tell you the name.
- If they can't, show them and name it for them.
- Tell the child that each piece of the puzzle represents a different country and tell them the names of the countries.
- Invite the child to remove the pieces from the puzzle, trace each outline, and place them back into the puzzle, naming each country as they go.
After a child has worked with each continent map, stereognostic exercises (like naming countries blindfolded by touching their outlines or drawing puzzle pieces from a bag), memory games, tracing, and other activity extensions can be done.
There you have it – a complete explanation of the Montessori Puzzle Maps.
These maps are a clever way to encourage a child's interest in geography, even for those who don't do Montessori.
Does your child enjoy them, either at school or at home?
If you do Montessori homeschooling, do you think that the Puzzle Maps are an essential purchase?
Let everyone know below in the comments.
Cheers and don't forget to subscribe!