Montessori culture and science lessons are similar in structure and presentation to the other areas of Montessori learning. The Montessori Sandpaper Globe is a wonderful example of this type of sensorial lesson in Montessori primary geography.
In this article, you will learn what the Sandpaper Globe is, its purpose, and how to present this Montessori geography material to a child.
I have also included a presentation video as well as some links for DIY Sandpaper Globes for those looking to make their own.
(This post contains affiliate links. Purchasing from these links costs you nothing extra, but helps with our website upkeep.)
What is the Montessori Sandpaper Globe and what is its purpose?
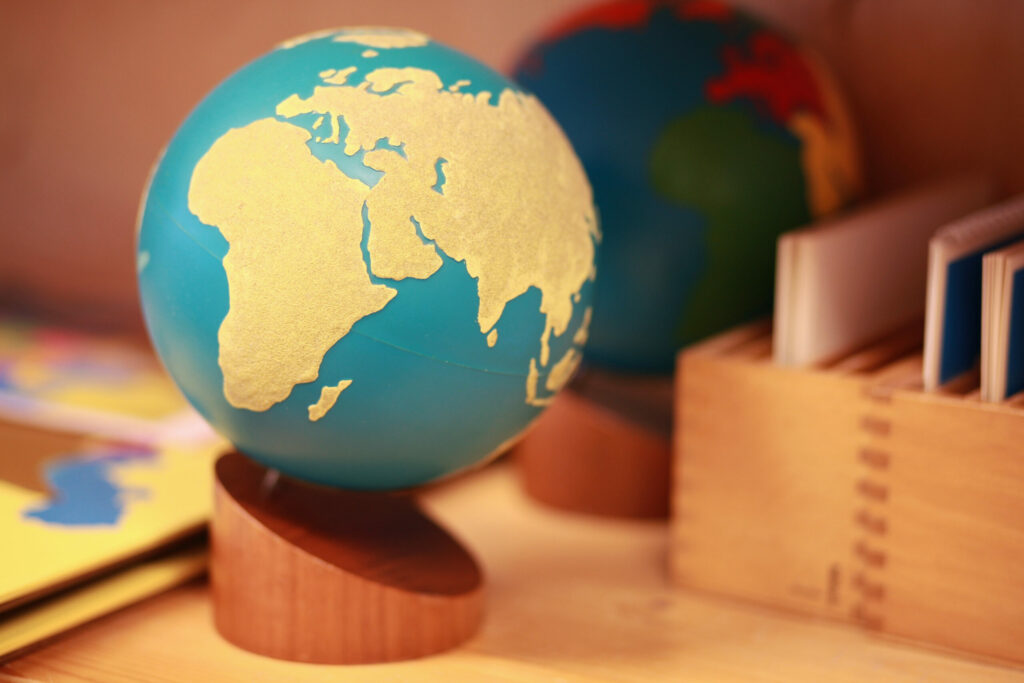
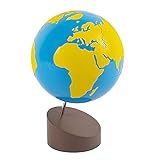
The Montessori Sandpaper Globe is a sphere with 2 different colors and textures – smooth blue material that represents water and rough sandpaper (the color varies, but typically it's found in brown or yellow) that represents land.
The sandpaper globe is set on a wooden stand in a way that allows it to rotate at the same angle as the Earth.
The purpose of the Sandpaper Globe is to let children experience through their tactile sense the spherical shape of the earth as well as Earth's composition of land and water.
Montessori teaches geography in order from whole-to-parts.
This means that children first learn about the whole earth, then its contentents, then the countries, and onward. This is to help children relate each part back to the whole.
This is not only important for helping children understand geography, but it helps them understand that everyone on earth, no matter where they are located, is connected to one another.
This helps children envision life beyond their immediate environment and local culture.
The Montessori Sandpaper Globe is presented during the child's first year at primary, prior to the introduction of the continent map or the Land and Water Forms.
- Montessori astronomy geography teaching materials, suitable for…
- Understanding the composition of the earth's interior
- Understand the position of the earth's crust, mantle and core
Direct aim of the Montessori Sandpaper Globe
- To teach children that the earth is round and is made up of land and water
Indirect aim
- To give children the sensorial impression of the composition of the earth as it relates to land and water
Vocabulary
- earth
- water
- land
Points of interest during the Montessori sandpaper globe lesson
- the feeling of both the rough land areas and the smooth water areas
- the transition from feeling a smooth surface and then a rough surface
- the amount of both water and land on the surface of the sandpaper globe
Control of error
- the sandpaper
How to present the sandpaper globe in Montessori
Before presenting the Sandpaper Globe, as with the touch boards and tablets, you should accompany the child to wash hands at the sink.
Nice clean, dry hands will be more sensitive to touch.
A 3-period lesson should accompany this presentation.
- Show the child how to carefully carry the Sandpaper Globe to the table, holding it with both hands by its base.
- Explain to the child that the globe represent earth, the planet on which we live, and this is what it looks like from far away.
- Run your hands lightly around the surface of the globe and ask the child if they would like to do the same.
- Touch a sandpaper area of the globe and say, “This is land.” Touch another rough area of the globe and say, “Land”.
- Invite the child to touch a rough area of the globe and also say, “Land”.
- Turn the globe counter-clockwise slightly and touch a smooth area. Say, “This is water.” Touch another smooth area and say, “Water”.
- Invite the child to to the same.
- Ask the child if they would like to explore the globe further, to touch and identify the land and water areas.
Montessori sanpaper globe activity extensions
Introduce land, water, and air
Using 3 bowls, one with dirt, one with water, and one kept empty, invite the child to explore each using multiple senses.
Refer to the Sandpaper Globe, helping them relate each item to what they learned during the Sandpaper Globe presentation.
Blindfolded/eyes closed
Ask the child to close their eyes, or blindfold if the child desires. Have the child turn the globe and touch various areas and describe them as either smooth or rough.
DIY sandpaper globe
Many caregivers find that certain Montessori materials are simple enough to fashion themselves. The Sandpaper Globe is one of these items.
There are actually a few ways people make their own Sandpaper Globes. Below are some links for instructions.
- For instruction on how to make your own Sandpaper Globe using a thrift store globe, craft paint, craft glue, and sand, click here.
- Another wonderful option using a thrift store globe, paint, and modgepodge can be found here.
- If you have some acrylic paints, an old globe, and some play sand lying around, here are some DIY Sandpaper Globe instructions you might like.
The sandpaper globe is an interesting and fun Montessori geography material. Children are intrigued by its spherical shape and the contrast in colors and textures.
Have you introduced the Sandpaper Globe at home with your child? If so, do you find that it helped pique their interest in learning about the earth and all of its life?
Cheers and don't forget to subscribe!