If you are interested in learning about the Montessori Continents Globe, this post is for you.
I've put together some basic information about this Montessori geography material for my readers.
In this post, you'll also find where you can purchase the Continents Globe and you'll learn how to present the material to a child, as well.
You'll also find a couple of activity extensions and a video toward the end of the post.
(This post contains affiliate links. Purchasing from these links costs you nothing extra, but helps with our website upkeep.)
What is the Montessori Continents Globe?
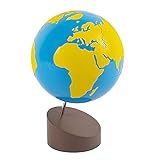
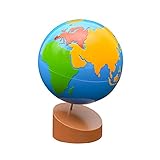
The Montessori Colored Globe, or Continents Globe, (sometimes referred to as a painted globe, as well) is a plastic or wooden sphere with colored continents, which are slightly raised.
The Continents Globe is the same size as the Sandpaper Globe and is introduced to a child after they have worked with the Sandpaper Globe.
Similar also to the Sandpaper Globe, the Colored Globe, is set on a wooden base so that it rotates at the same angle as the earth.
The designated color of the continents on the Montessori Continents Globe is as follows:
- Soth America – pink
- North America – orange
- Australia – brown
- Asia – yellow
- Europe – red
- Africa – green
- Antarctica – white
Montessori geography lessons follow this same color-coding throughout the curriculum.
You'll see the same color-coding with materials such as the geography folders and Puzzle Map of the World.
The purpose of the color-coded continents is to help children recognize each continent easier, so they can focus more on the concepts they are learning.
The ultimate purpose of the Colored Globe is to help children grasp that the earth is made up of continents and oceans.
An indirect aim of this geography material is to help children get a sensorial impression of the size and shape of each continent.
Though you've been given the color coding for the continents, you should know that the names of the continents will not be introduced in this lesson.
Vocabulary
How to present the Montessori Continents Globe
To present the Continents Globe, you'll need:
- Montessori astronomy geography teaching materials, suitable for…
- Understanding the composition of the earth's interior
- Understand the position of the earth's crust, mantle and core
- Montessori Globe – World Parts teaching materials, suitable for…
- Understanding the composition of the earth's interior
- Understand the position of the earth's crust, mantle and core
Here are the steps to present the Montessori Continents Globe to a child. As with other Montessori activities, a 3-period lesson should accompany.
- Pick up the Continents Globe by its base and invite the child to carry the Sandpaper Globe alongside you to the table in the same manner.
- Do a short review of the Sandpaper Globe presentation.
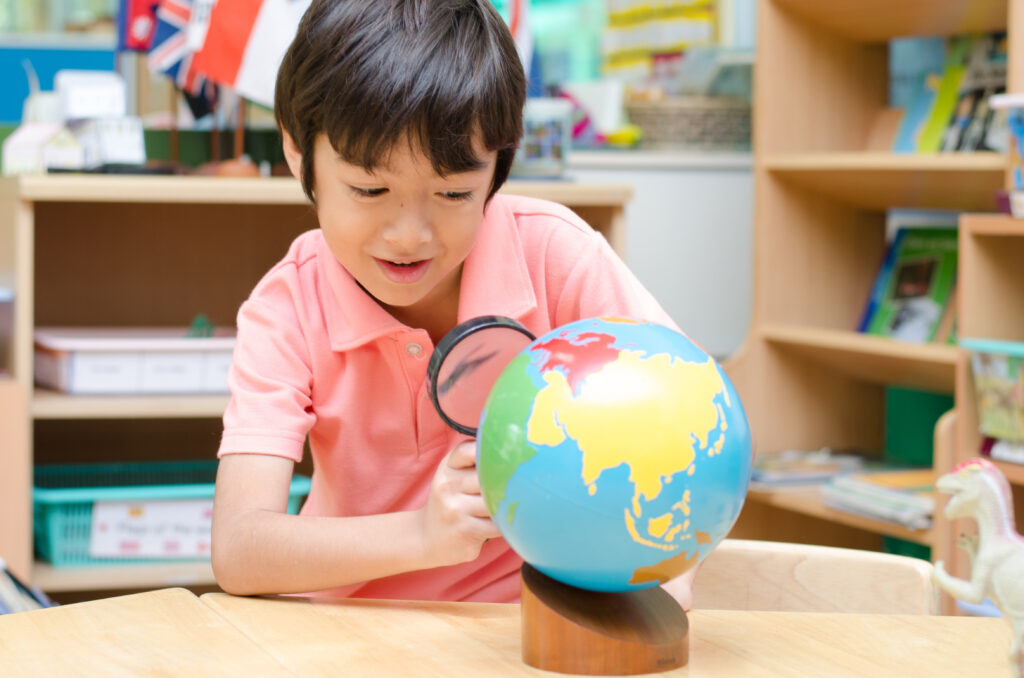
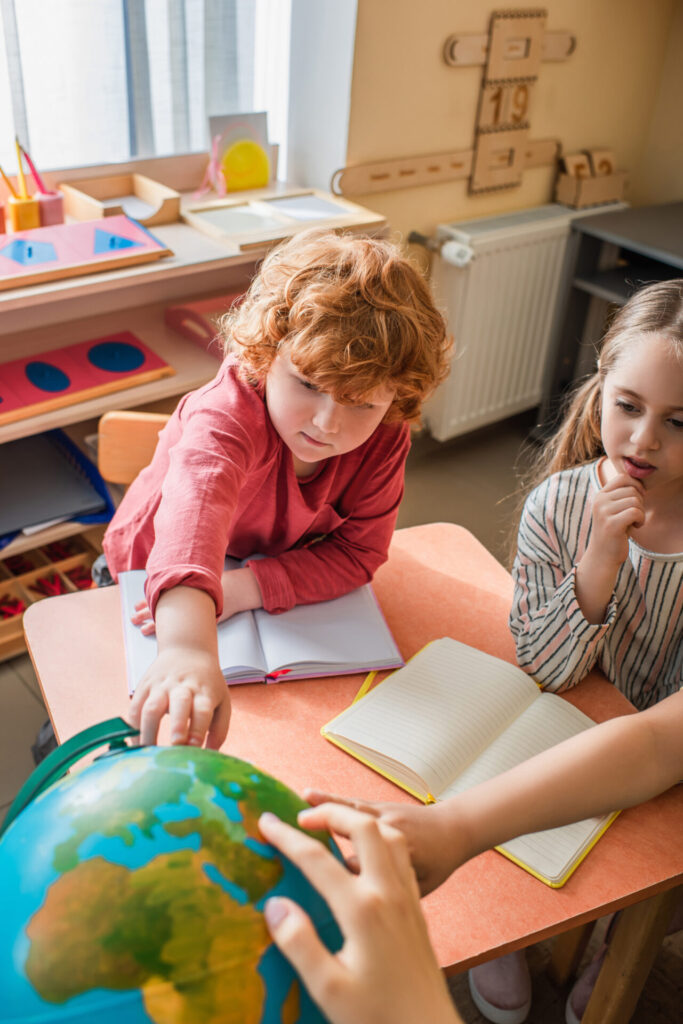
- Ask the child to explore both globes.
- Tell the child that both globes represent the earth.
- Explore the similarities and differences (separately) between the globes with the child.
- Ask the child if they can point to a land mass on the Sandpaper Globe and find the corresponding area on the Colored Globe.
- Repeat the last step with each continent, then move the Sandpaper Globe out of sight.
- Point to a continent on the Continents Globe and tell the child, “This is called a continent. It's a large land mass that is surrounded by water. Continent”.
- Turn the globe to the right and select a different continent and tell the child, “This is called a continent. Continent”.
- Repeat the previous step with all of the continents.
- Repeat this process with the oceans, saying, “This large area of water is called an ocean. Ocean”.
- Ask the child if they would like to find a continent, then an ocean, covering every continent and ocean.
- Invite the child to repeat the activity.
Colored Continent Globe activity extensions
Following the presentation, on another day and only when the child is ready, there are other activities that can be done with the Montessori Continents Globe.
Comparing continent and ocean sizes
Invite the child to find the largest and smallest continents and oceans on the globe.
Stereognostic exercise
Invite the child to wear a blindfold or close their eyes. Help them hold their finger just over the surface of the globe.
Slowly turn the globe to the right and ask the child to identify if they are touching a continent or an ocean when the globe stops.
There you have it – the Montessori Continents Globe lesson.
Cheers and don't forget to subscribe!