Sensory bins, for things like slime and colored rice, are very popular. But they are not a Montessori material and are typically not found in Montessori classrooms.
Maria Montessori believed that children do indeed learn through all their senses and she adapted sensory exploration into her classroom in the following ways:
(This post contains affiliate links. Purchasing from these links costs you nothing extra, but helps with our website upkeep.)
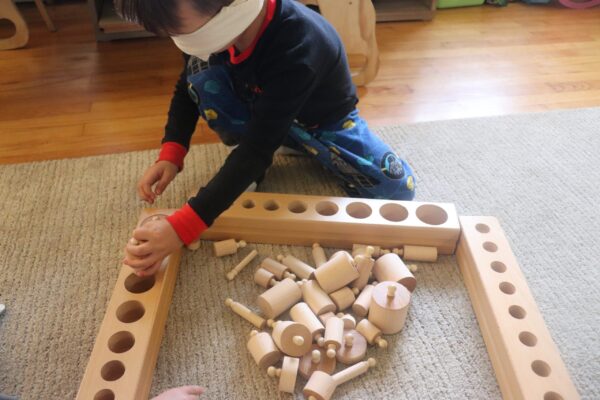
- Through the sensorial materials she designed, such as sandpaper letters, red rods, and knobbed cylinders.
- By using natural materials in her classroom, like wooden toys.
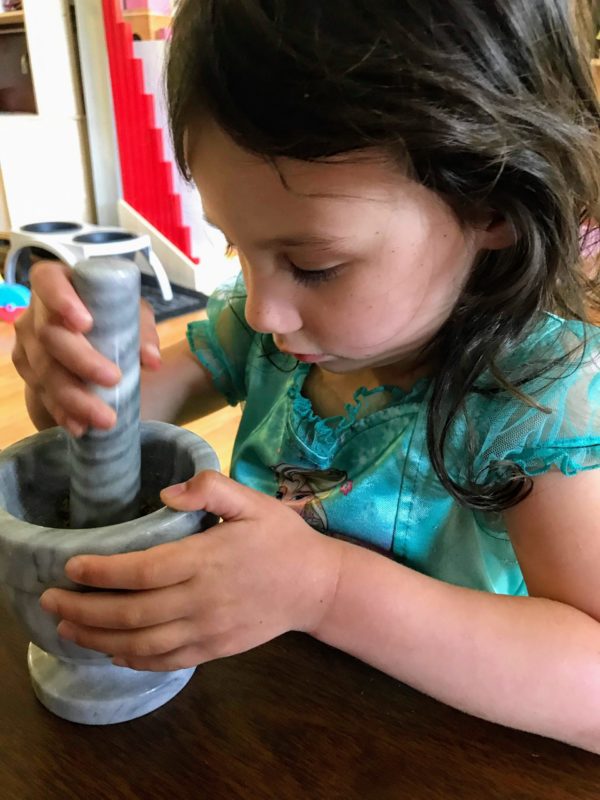
- Through Practical Life Activities. Examples: Touch – washing dishes; Smell – herb grinding; Taste – cooking.
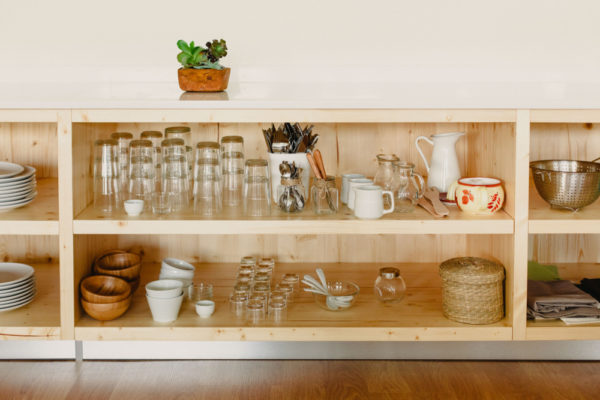
- Using glass dishes, as they have a weight and texture that plastic does not.
- Being outside in nature as much as possible, which is great for all senses!
Some Montessori purists are against using sensory bins or tables.
However, sensory tables are a modern invention and were not around when Dr. Montessori was living, nor were things like slime, so we can only theorize what she would think of them.
So, just because you follow the Montessori Method in your home, it doesn’t mean that you can’t and shouldn’t have a sensory table for your child(ren).
Benefits of Sensory Play and Sensory Bins
- Some sensory materials/activities are used in Occupational Therapy for children, especially for children with Sensory Processing Disorder and/or Autism.
- Works their fine motor skills by manipulating whatever material is in the bin.
- Develops speech by learning new vocabulary and descriptive words.
- Helps Cognitive Development – including spatial awareness and cause and effect.
- Encourages Social and Emotional Development.
- It can be helpful if you need to get something done (As I write this, my daughter is playing in her sensory table beside me).
- Most importantly, it can be a lot of fun!
Whether you strictly or loosely follow the Montessori Method, you can still do sensory play in your home.
Montessori-Inspired Sensory Bin Activities
- Freeze small toy animals in water and melt using warm water and salt, like the activity from Coffeeandspitup here.
- Baby Doll Washing.
- Animal Rescue – bury them in dirt or sand and have the child find them using their hands or tongs. You can also have them wash them afterward.
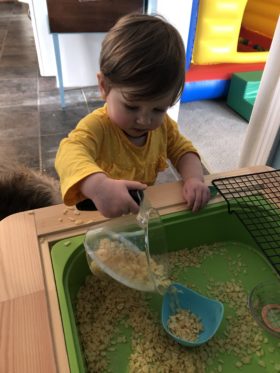
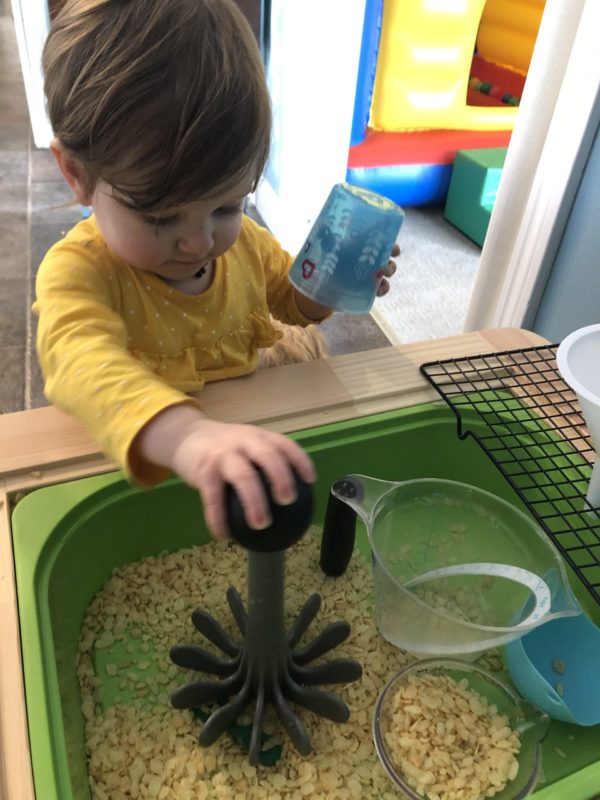
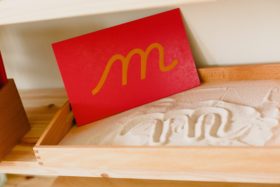
- Pouring Practice – Below I used a rice cereal that I had leftover from making Rice Krispie treats, but you can use anything from rice or beans to sand or water. We also used a potato masher to mash them up and poured the finer cereal through a funnel.
- Sponge Squeezing and Transferring – soak sponges and have the child squeeze water out into cups or bowls.
- Fossil Digging – check out instructions here at Mommy Evolution.
- Washing and Hanging Doll Clothes – Hang up a mini clothesline and have them hang the clothes to dry to practice practical life skills.
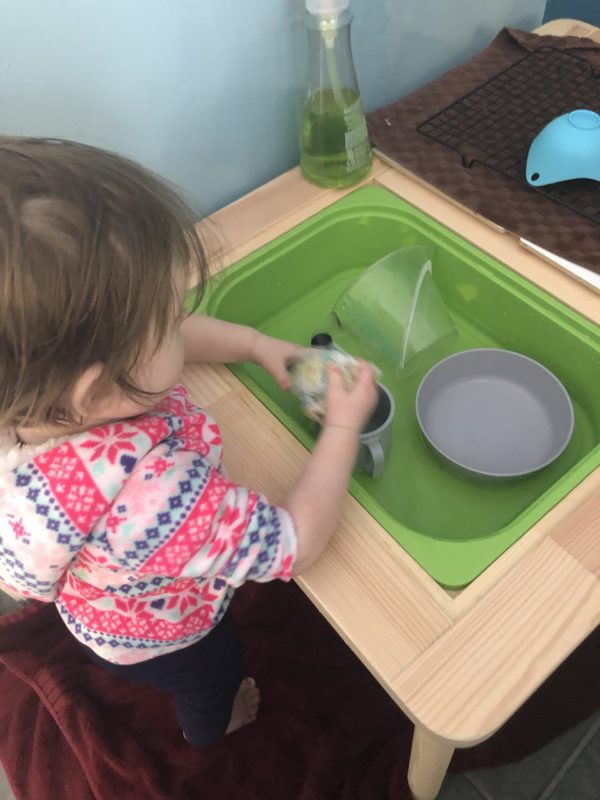
- Dishwashing – this is perfect practice if you don’t have space or haven’t yet set up a permanent dishwashing station.
- Convert To A Light Box – Anchors and Arrows has instructions here. Then use X-rays or Magna-tiles on top (check out shopping links for both).
- Coin Sorting – Fill the bin with coins and sort into cups or bowls. A child can count the money once sorted as well.
- Seed Planting – Put dirt into one bin, and small planters and other supplies in another bin.
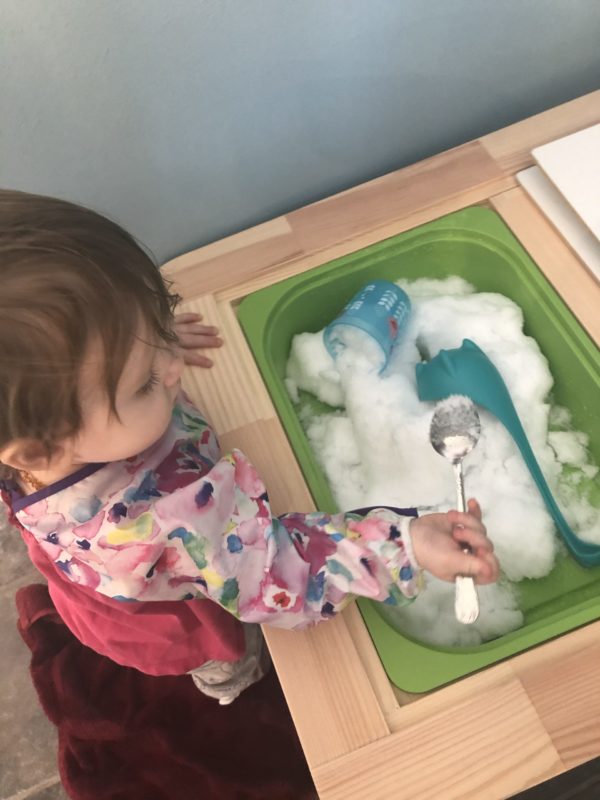
- Bring Outside In – Snow (which can be fun to watercolor paint on!), sand, or dirt. Or go on a nature walk together and have the child gather stuff to put in the bin like rocks, sticks, or flowers.
- Shaving Cream and Foam Blocks – instructions from No Time For Flashcards here.
- Letter Search – For older children, you can have them find letters and spell words.
- Magnetic Wand and Bingo Chips – Use the wand to pick up chips. You can mix them with non-magnetic things for more of a challenge and sort them by colors as well.
- Land and Water Formations – read more about them here. You can also have children sort animals by land/water by putting them in dirt and water.
- Science Experiments – Such as baking soda and vinegar or Oobleck experiments.
- I Spy – hide small items in sand or rice and have them search for particular items. You can ask them to find all the “red” things or all the “food” things. If you don’t have small items, just use small pictures on card stock.
- Color Sorting – Fill with beads or pompoms and sort with color sorting bowls. This a great way to teach a child colors.)
- Writing In Sand – Use fingers to write different letters.
Being 100% strictly Montessori in a home environment is not always feasible, or the best for your child.
Some kids crave more messy, free play and might not get their fill with a traditional Montessori environment, so do what is best for your child’s needs and interests.
And if you decide to do slime, you’re not failing at being a Montessori parent!
I hope this helps you feel comfortable in providing your child with some sensory table activities that are still Montessori-aligned.
What fun ways have you used a sensory table in your home?
Pingback: How Picky Eaters Can Eat Healthy: The Montessori Way — The Montessori-Minded Mom