In this article, you will learn about the different types of baby mobiles that are in line with Montessori parenting. You will also learn how to make your own Montessori mobile by following the step-by-step DIY Montessori mobile instructions.
What is a Montessori mobile?
There are many different kinds of baby mobiles out there, but which baby mobiles align with the Montessori parenting philosophy?
As I discussed in my post about high contrast cards, a newborn’s eyesight is not fully developed when they’re born. They don’t see color and can only see about 8-12 inches in front of them for the first few months.
The right mobiles can stimulate retina development, as well as cognitive development and help with concentration. Montessori mobiles are designed specifically for different stages in newborns’ eyesight, so they are perfect for visual development.
Types of Montessori Mobiles
There are four types of Montessori baby mobiles: The Munari, Octahedron, Gobbi, and The Dancers.
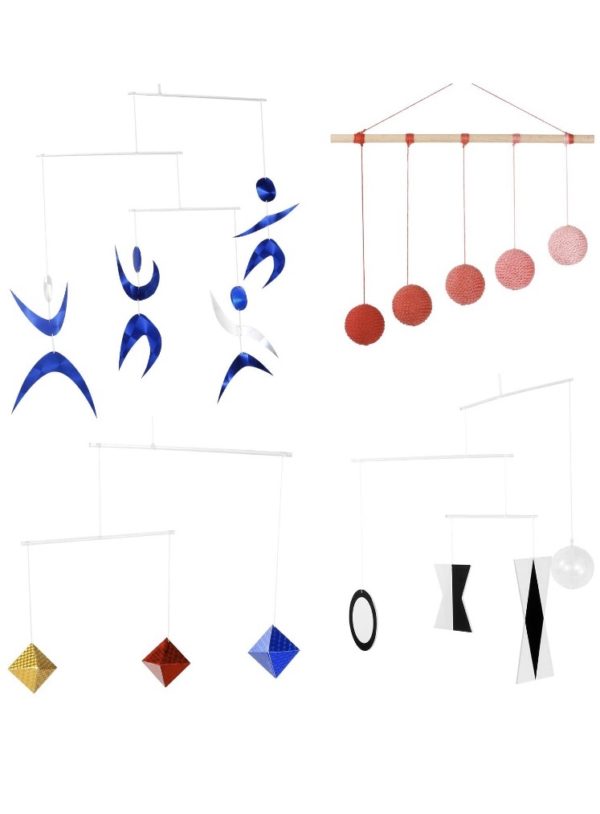
- Munari Mobile – Named after artist Bruno Munari. Consists of black and white two dimensional shapes and a clear ball. You would introduce this one first, at around 2-6 weeks of age. They are similar to high contrast cards.
- Octahedron – Three octahedron shapes in primary colors, made out of shiney craft paper. This is used at about 5-8 weeks of age, when they’re starting to see colors.
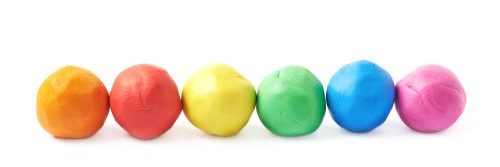
- Gobbi – Five balls usually covered in embroidery string in a gradient of the same color (can be any color), hung in ascending order. Used to introduce the depth of visual field, at about 7-10 weeks of age.
- The Dancers – Holographic paper shaped as dancing figures. The heads, arms and legs are hung separately to allow for movement to encourage visual tracking. Typically used at about 8-12 weeks of age.
Keep in mind these ages are suggestions, and if you find your baby enjoys one more than the other, keep it out longer or interchange them. As always, follow the child.
Making Your Own Baby Mobile: DIY Montessori mobile instructions


While these Montessori baby mobiles are beautiful, if you’re buying all four they can be expensive, especially when they’re only used for a generally short period of time. I didn’t have any of these Montessori mobiles for my first child, but as someone who loves a good DIY, I figured I could throw something together.
There are many DIY options and printables online for each mobile. But since I really wanted to include my 21 month year old daughter in the process of making them, printables wouldn’t allow that.
It also wouldn’t be a process art project or allow for any creativity.
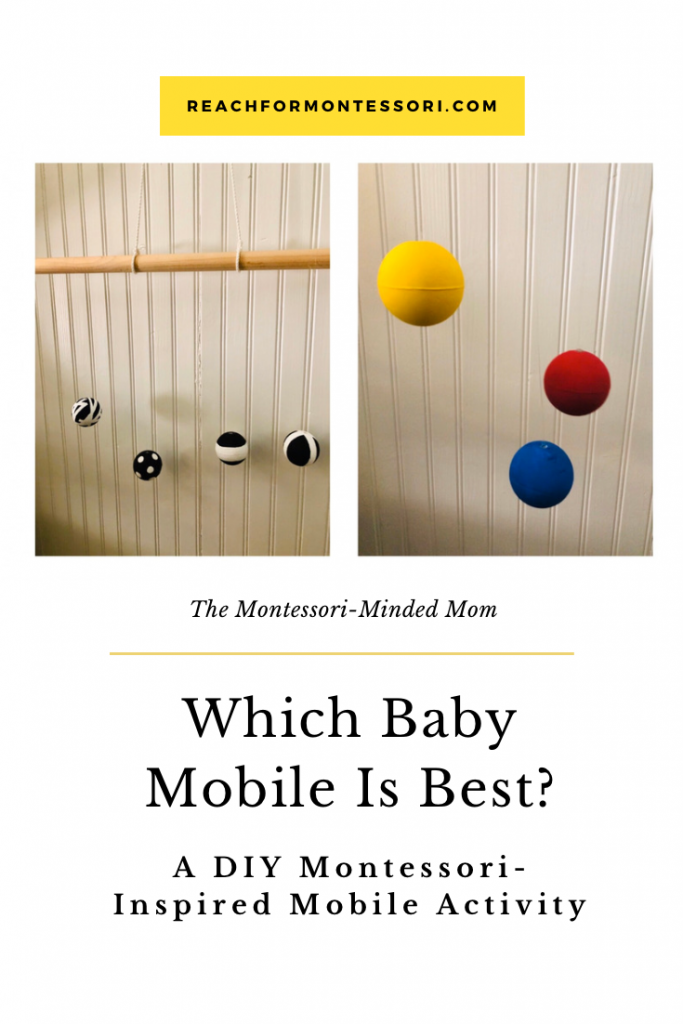
So, discovering I had seven foam craft balls in my craft supplies, and using all supplies I already had at home, I decided to make two mobiles inspired by the Munari and Octahedron mobiles. We will have options for the first two months or so and may choose to make ones like the Gobbi and Dancers later on.
We used three foam balls to paint with primary colors, inspired by the Octahedron mobile – very simple and easy! And the remaining four we did different black and white patterns, inspired by the Munari Mobile.
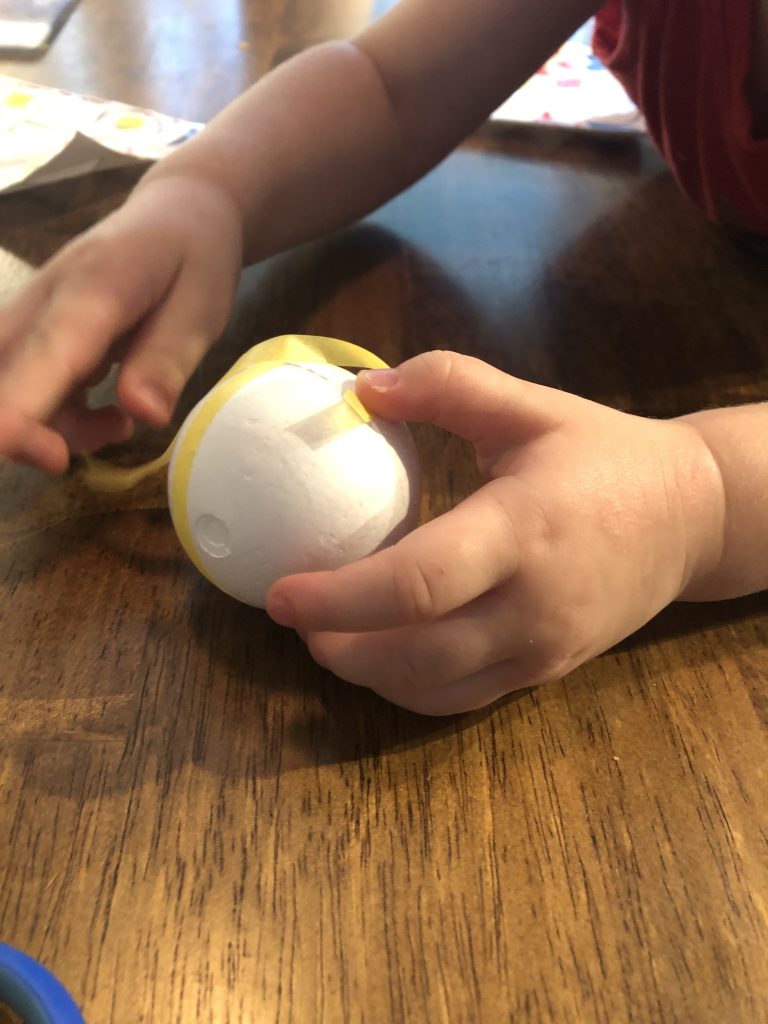
I cut small strips from Painter‘s Tape and let my daughter stick them randomly on one ball, while I did designs on two others. We also used small shape stickers we had on hand for the one with the circles, which my daughter also did on her own. This is perfect for fine motor development!
Because the surface isn’t flat, we did have some bleeding, so I touched them up with black and white paint.


The DIY Montessori Mobile Activity
What You Need
- 2” foam craft balls
- Fishing line, string, or yarn
- Wood Rod or dowel
- Paint (black, white, red, yellow, and blue) and paintbrushes
- Painter’s Tape and/or stickers
- E6000 Craft Glue
Instructions:
- For black and white balls, using Painter’s Tape and/or shape stickers, create patterns as desired.
- Paint balls entirely (add extra coats as needed)
- Let dry (I stuck toothpicks into a cardboard box and placed them on them to dry)
- Remove tape/stickers
- Touch up paint as needed
- Add string or fishing line (I knotted fishing line and used E6000 craft glue in the prepared holes of each ball, but you can string them through balls)
- Hang on wooden rod or dowel (I knotted loops at each end big enough so I can remove them and interchange the black and white and primary color ones).
- Hang 10-12” above baby in Yes Space and enjoy!


Now we have some great baby mobile options for the new baby that are Montessori-aligned! This project was something my daughter enjoyed doing and will be proud to share with her baby sister!
You can adapt this project to your own supplies and create something special and unique. I’d love to see your results!
*the following are sponsored links*
Play dates- While babies love looking at other babies pictures in the books, what they love even more is seeing them in real-life. At 4 months old, babies are increasingly aware and bonding with other babies is a wonderful opportunity for them. During Anika s first play date, she and her little buddy looked at each other and both simultaneously squealed in excitement and disbelief!