Are you interested in learning about the Montessori Constructive Triangles? If so, you are in the right place.
This is such a neat Montessori material that is fun to work with and has so many different exciting extensions.
I've gone ahead and written out the presentations and included helpful tips, as well.
I've also included some shopping links for those who haven't yet bought the material, as well as some links to printable Constructive Triangles.
Let's get right to it.
(This post contains affiliate links. Purchasing from these links costs you nothing extra, but helps with our website upkeep.)
What are the Montessori Constructive Triangles?
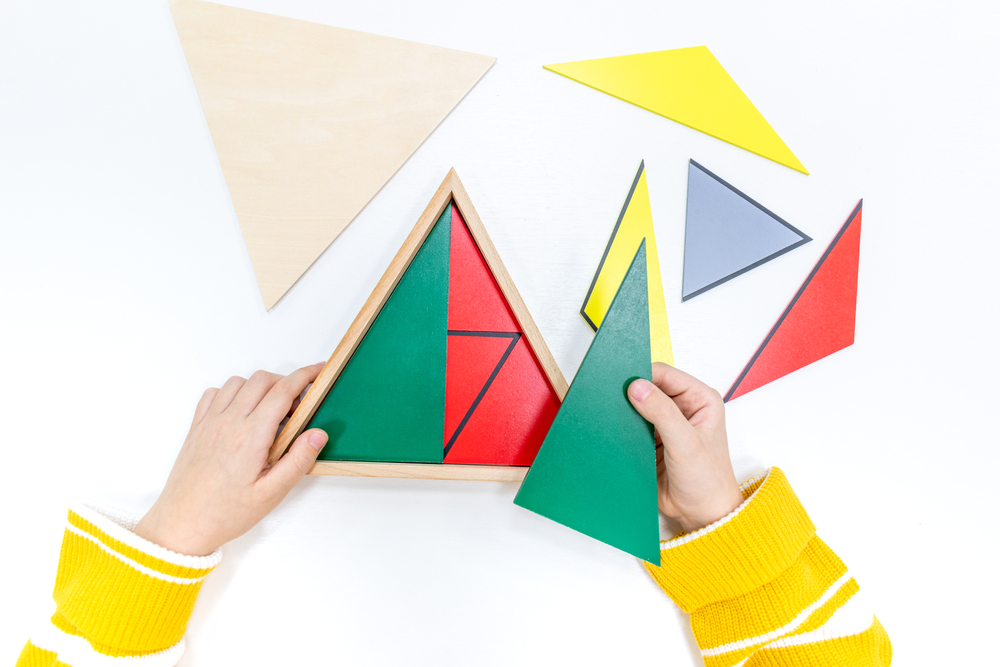
This is an enjoyable sensorial material that is introduced in the primary years around the age of 4.
The material consists of 5 boxes of triangles.
The boxes include triangles that are marked with black on the sides that are to be put together to form shapes.
The purpose of this set of materials is to give children a sensorial impression of shapes, refine a child's visual discrimination, and prepare them for future geometry work.
The Constructive Triangles material builds on the knowledge introduced with other materials, like the Geometric Cabinet and the Geometric Solids.

- 🌈【Product List】: A total of 5 boxes of triangles. Includes…
- 🔺【Constructive Triangles】: 5 wooden boxes with lids…
- 🔷【Colorful Geometric Figures】: Through the combination and…
Printable Montessori Constructive Triangles
If you don't want to spend a lot of money and you don't mind doing some cutting, there are some great places online where you can find printable Montessori Constructive Triangles.
If you have faith in your ability to cut a straight line, there's no need to buy or print the Constructive Triangles.
These can easily be made using some sturdy construction paper.
How to present the Montessori Constructive Triangles
You will be presenting the Constructive Triangles on a large floor mat.
It's important to make sure before the presentations of the Montessori Constructive Triangles that the triangles are in each box accessible in the order in which they will be used.
Reading over these presentations, it might seem like a lot to remember, but it's really not all that much.
If you remember what shape you will be building and how to present the activities, you're good to go.
Here are some definitions that will help you present this lesson:
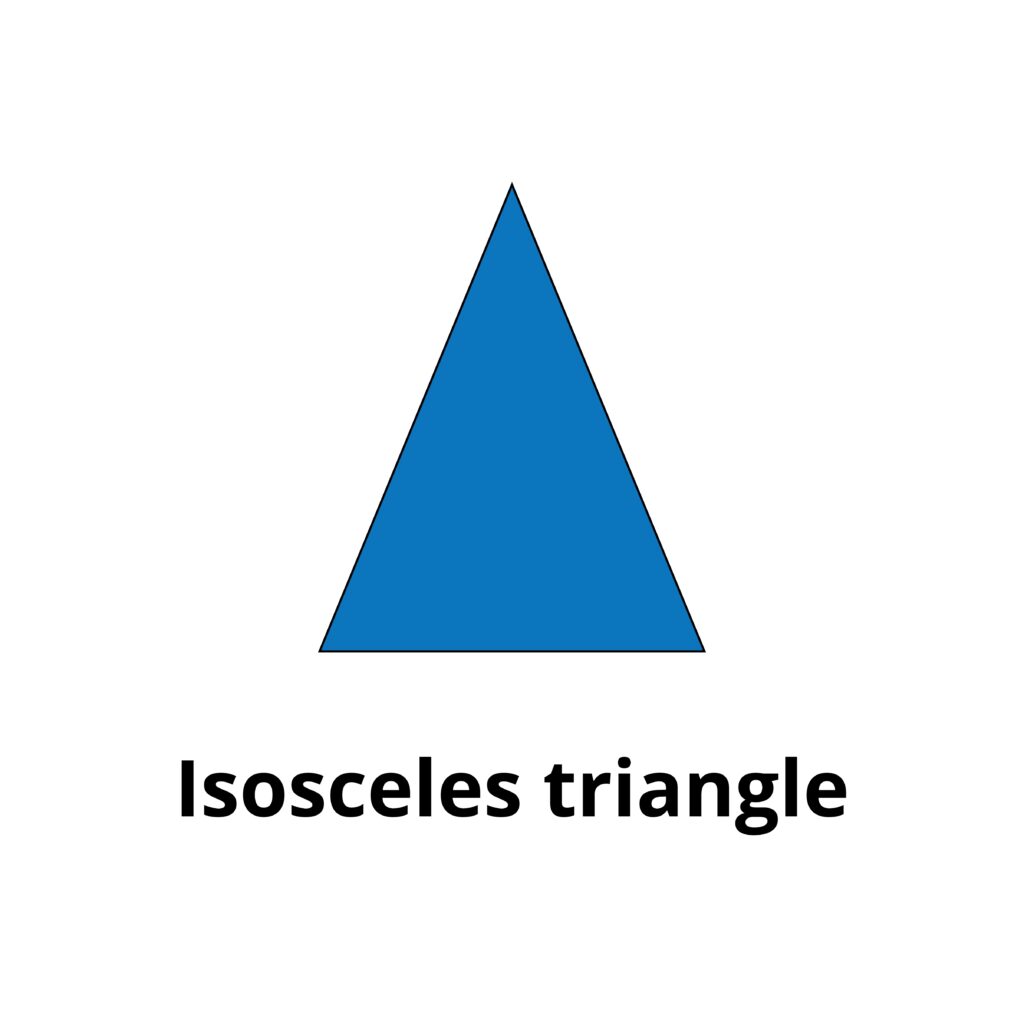
- Isosceles triangle – 2 equal sides and 2 equal angles
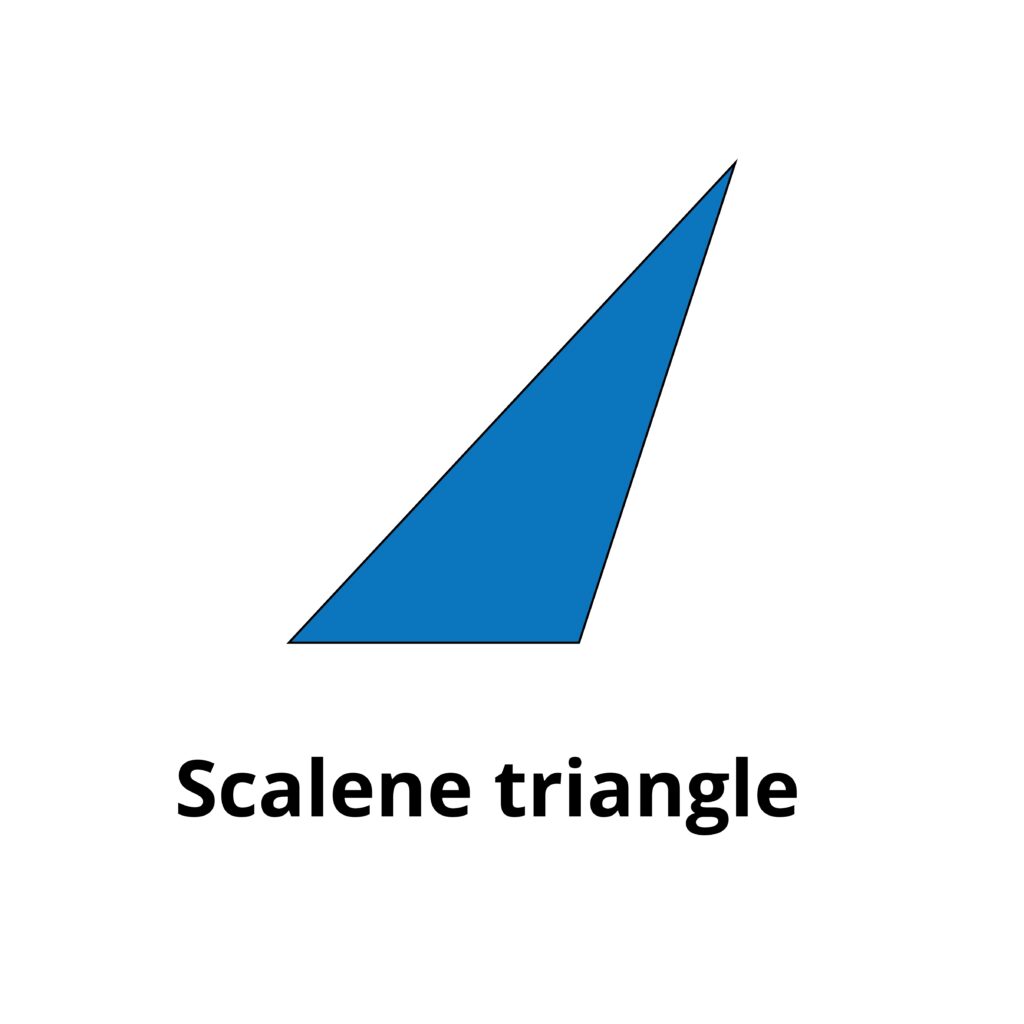
- Scalene triangle – no equal sides or equal angles
- Equilateral triangle – equal sides and all corners are 60 degrees
These are the triangles the child will be working with. Here are some other terms you need to be familiar with:
- Square
- Parallelogram
- Rectangle
- Rhombus
- Trapezoid
- Hexagon
There is no new vocabulary for this activity for a child that has worked with the prerequisite material.
If you are presenting this as a stand-alone Montessori activity, you will only be telling your child the “product shapes”, the names of the shapes you build.
Children will learn the different types of triangles much later in their schooling.
Rectangular Box A
Square and Parallelogram
- Take out the green and yellow isosceles triangles from the box and put them in a row in front of the child, green to the left and yellow to the right, and black line to the back.
- Pick up a green triangle with your non-dominant hand and run the 2 primary fingers of your dominant hand slowly across the black line.
- Repeat this with the second green triangle.
- Slowly push the two green triangles together and tell the child it's a square.
- Repeat these steps with the yellow right isosceles triangle. (The product of the triangles will be a parallelogram.)
- Move both the green square and the yellow parallelogram to the right side of the mat.
Rectangle and 2 Parallelograms
- Take out the grey, green, and yellow scalene triangles from the box and put them in a row in front of the child, green to the left and yellow to the right, and black line to the back. The grey triangles should be to the left and with the black lines facing each other.
- Trace the black lines on the grey triangles and slowly push them together and tell the child that it is a rectangle.
- Repeat this with the green triangles, then the yellow triangles.
- Slide the shapes to the right side of the workspace.
Rhombus and Trapezoid
- Take the 2 yellow equilateral triangles and the 2 red scalene triangles from the box and put them in front of the child with the black lines toward each other.
- Trace and push together the yellow triangles, then the red triangles to form a rhombus and a trapezoid.
- Name the new shapes for the child.
After they go through them with you present for guidance, let them know they can work with Rectangular Box A whenever they want.
Rectangular Box B
For this lesson, you'll be using both Rectangular Box A and Rectangular Box B.
Before you start the activities, build quadrilaterals using all of the triangles in Rectangular Box A by pairing the triangles up.
Square and Parallelogram
- Take the 2 blue right isosceles triangles from the box and lay them to the left of the green square you built from Box A.
- Build a blue square on top of the green square.
- Take apart and rebuild the square again to the right side of the green square.
- Take the blue square apart and repeat these steps building a blue parallelogram next to the yellow parallelogram.
Rectangle and Parallelograms
- Take the 2 blue right scalene triangles and repeat these steps with the grey rectangle you built from Box A.
- Still using the blue triangles, repeat these steps again with the yellow parallelogram.
Rhombus and Trapezoid
- Take the 2 blue equilateral triangles from the box and put them to the left of the yellow rhombus and repeat the steps from above, building on top of, and then to the right of, the yellow rhombus.
- Repeat these steps (still using the blue triangles) with the red trapezoid.
After they go through them with you present for guidance, let them know they can work with Rectangular Box B whenever they want.
Triangular Box
- Take the grey equilateral triangle from the box and set it to the side.
- Take the 2 green right scalene triangles and put them in a row in from of the child.
- Trace the black edges of the green triangles with your 2 fingers and slowly push them together.
- Place the large grey triangle on top of the new green triangle you have just built and show the child that they are the same.
- Slide both triangles to the right side of the workspace.
- Take the 3 yellow obtuse isosceles triangles from the box and repeat these steps, superimposing the large grey triangle onto the yellow triangle when you are finished.
- Slide the triangles to the right side of the workspace.
- Take out the red equilateral triangles and repeat these steps, building a large red equilateral triangle and superimposing the grey triangle.
- Slide the new red triangle to the right side of the floor mat.
- Superimpose the grey triangle over each of the others, one by one.
- In reverse order, put the triangles back in the box.
After they go through them with you present for guidance, let them know they can work with the Triangular Box whenever they want.
Large Hexagonal Box
Hexagon
- Take the yellow equilateral triangle from the box and put it down in front of the child.
- Take the 3 yellow obtuse isosceles triangles with black lines on the longest side from the box and put them down next to the equilateral triangles.
- One by one, trace the black line on each isosceles triangle and push it against the sides of the equilateral triangle.
- Tell the child that the new shape is a hexagon.
Equilateral Triangle
- Take the 3 yellow obtuse isosceles triangles with black lines on the equal sides from the box and put them down in front of the child.
- Tracing with your fingers along the black lines and pushing the triangles slowly together, form an equilateral triangle.
- Superimpose the yellow equilateral triangle from the hexagon you just built on top of the new triangle to show the child that they are the same shape.
- Slide both triangles to the side of the workspace.
Rhombus
- Take the 2 red obtuse isosceles triangles from the box and put them down in front of the child.
- Trace the black lines and push them together to make a rhombus.
- Take 2 of the yellow obtuse isosceles triangles from the hexagon you made and repeat the same steps.
- Build the red rhombus again, but this time on top of the yellow one.
- Slide the 2 rhombi to the right side of the workspace.
Parallelogram
- Take from the box the 2 grey obtuse isosceles triangles and put them in front of the child.
- Form a parallelogram by tracing the black side and pushing the 2 triangles together.
- Take the yellow obtuse isosceles triangles from the box and do the same.
- Rebuild the grey parallelogram on top of the yellow one.
- Move them to the side of the mat and return the triangles to the box in reverse order.
After they go through them with you present for guidance, let them know they can work with the Large Hexagonal Box whenever they want.
Small Hexagonal Box
3 Rhombi
- Place the 6 grey equilateral triangles in a row in the workspace.
- Take 2 of them and trace the black lines and slowly push them together to form a rhombus.
- Repeat this with the rest of the triangles, then move the 3 rhombi to the right side of the work mat.
Hexagon -1
- Slide one of the grey rhombi you have just built in front of the child.
- Take another single grey triangle and place it on the right side of the rhombus, the black line facing left.
- Trace and push together the single triangle to the rhombus. This will form a trapezoid, the top half of the hexagon.
- Repeat these steps to form the bottom half of the hexagon and turn it upside down.
- Trace the black lines with your 2 fingers and push the 2 trapezoids together.
- Slide the hexagon to the right side of the workspace.
Hexagon -2
- Take the 3 green equilateral triangles from the box and put them in front of the child.
- Just as with the previous exercises, trace the shapes and gently push them together along their black lines. Form a trapezoid.
- Slide the grey hexagon next to the green trapezoid.
- One by one, and methodically, exchange the green triangles with the grey triangles in the top half of the hexagon. (When you finish, the top of the hexagon should be green and the bottom half should be grey. The trapezoid should be grey.
- Replace the green trapezoid with the grey trapezoid, making the hexagon grey again.
Hexagon -3
- Take the 6 red obtuse isosceles triangles and put them in a row in front of the child.
- Make 3 rhombi from the triangles using the same method – tracing and mapping (pushing them together slowly.)
- Slide the hexagon next to the 3 rhombi and replace 2 of the grey triangles with a red rhombus.
- Repeat this with the other 2 rhombi, moving slowly so the child can see the equilateral triangle that forms.
- Rebuild the grey hexagon and slide both hexagons to the right side of the workspace.
Exchanging Rhombi
- Take 2 equilateral triangles from the box and put them in front of the child.
- Form a rhombus by using the slow method previously described.
- Slide the red and grey hexagons to the middle of the workspace.
- Replace a rhombus in the grey hexagon with the red rhombus you just built.
- Replace another rhombus in the grey hexagon with a rhombus from the red hexagon.
- Rebuild the red and grey hexagons and slide all the shapes to the right side of the workspace.
Building an Equilateral Triangle
- Put the yellow equilateral triangle from the box in front of the child.
- Slide the red hexagon next to the yellow triangle.
- Lay the yellow triangle on top of the equilateral triangle that's in the center of the red hexagon.
- One by one, fold the outer obtuse isosceles triangles over the yellow triangle so that they are upside down.
- Unfold them to their original positions to rebuild the hexagon.
- Put all the triangles back in the box in the following order – yellow, red equilateral, red obtuse isosceles, green, then grey.
After all of these exercises, you should invite the child to try them.
After they go through them with you present for guidance, let them know they can work with the Small Hexagonal Box whenever they want.
Extensions
This is a fairly extensive material and the extensions are plentiful. Montessori teachers sometimes come up with their own creative extensions, but here are some common ones.
- Tracing the shapes
- Combining boxes
- Geometric shape hunts
- Writing labels for the shapes
- Building animals, houses, people, ect.
- Stereognostic activities, like placing the shapes into a bag to identify them.
- Creating different shapes
This all might seem like a lot to take in, but I promise that these are enjoyable activities for children.
I suggest practicing with each box several times on your own before presenting the lessons to your child.
Cheers and don't forget to subscribe!