Have you heard of high contrast cards for babies? Have you thought about saving some money and making your own high-contrast cards?
In this article, you will learn a bit about what high-contrast cards are and how you can make your own right at home.
This is a great activity to involve soon-to-be siblings in!
If you're interested in simply buying and printing out contrast cards, check out Sue's Etsy shop. She's got a set of 40 printable contrast cards that you can print out and laminate.
What Are High Contrast Cards?
High-contrast cards are simple black-and-white patterns that stimulate newborns’ sight and cognitive development. When babies are born the nerve cells in their retina and brain are not yet developed.
So for the first three months, they can only see in black, white, and gray tones, and only about 8-12 inches in front of them.
At around 3 months, the first color they start to see is red, which is why you will sometimes see some red in high-contrast cards and toys. Around 5-6 months they will start to see the full-color spectrum.
This was first discovered in the 1960s by Dr. Robert Frantz and has since been researched numerous times over the years.
High-contrast cards are a must-have for your Montessori baby!
How To Use:
- Prop them up against something during tummy time
- Hang them from a mobile while baby is laying on back
- Use them similar to flash cards, by showing your baby each card and talking about each one
- Hang them gallery-style at their eye-level in your prepared environment
Try to be aware of signs of overstimulation and do them in short periods of time. Be sure to have them within their sight of 8-12 inches to start.
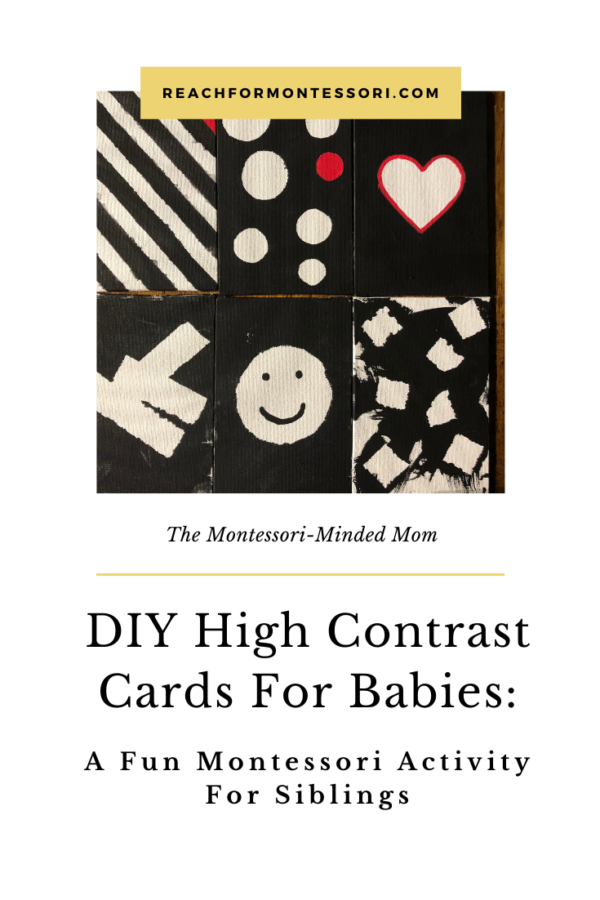
DIY High Contrast Cards
This is an easy DIY Montessori-aligned activity using a paint resist technique. It’s also a fun, process art activity that includes an older sibling!
You can easily buy or print out cards, but this is a special activity that can help prepare a sibling for a new baby.
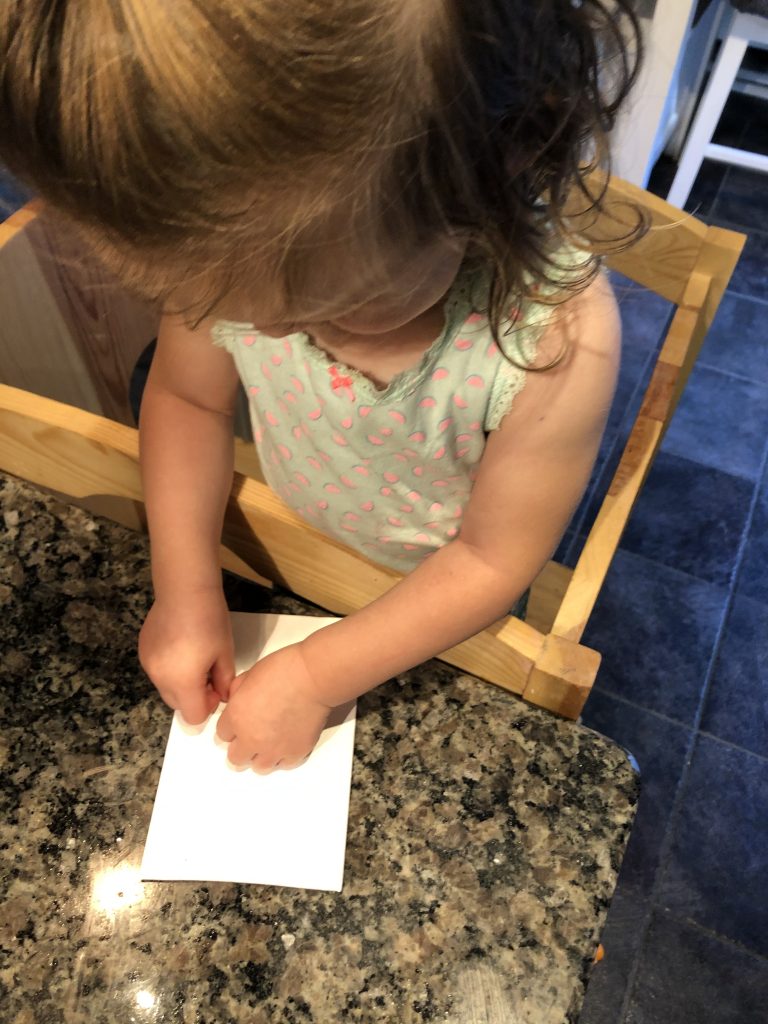
Get them involved as much as possible: older kids can plan and cut shapes, but younger kids can still stick the shapes on and paint.
They will be so proud and excited to take part in creating something for the new baby.
I used small canvases I got from the dollar store, but you could use thick card stock as well.
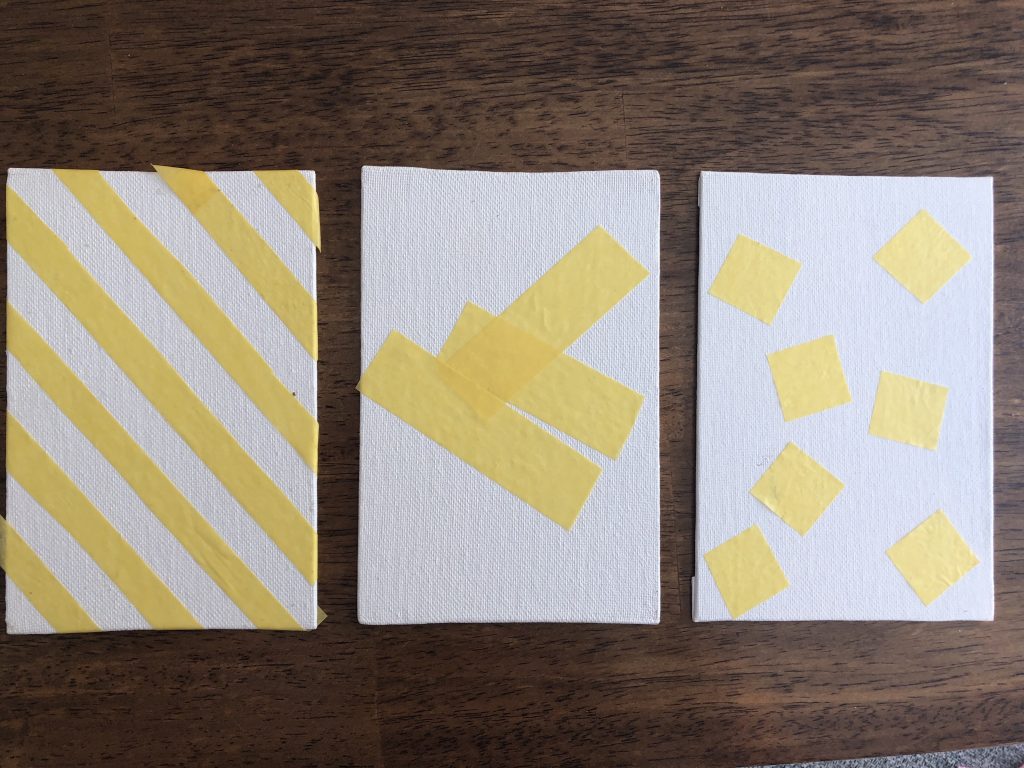
For stripes/squares, we used FrogTape Painter’s Tape (dampen the edges to seal it-I forgot to do it so it did run a little.)
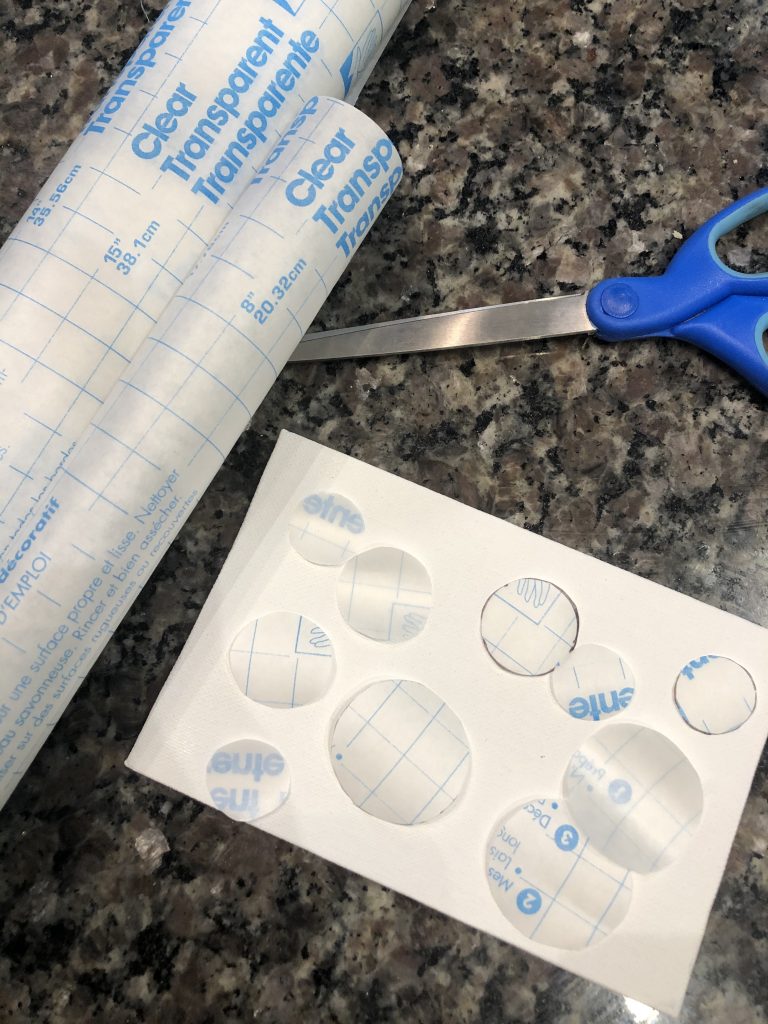
For circles and other bigger shapes, I used Con-Tact paper. I used lids to trace different-sized circles.
My daughter helped stick on the tape and Con-Tact paper. I also decided to add a bit of red to a few of the cards, but you can keep them simple black and white.
What you need:
- Small canvases or thick card stock
- Black and white paint, red optional (I used acrylic craft paint)
- Paint brushes or sponges
- Painter’s tape and/or Con-Tact paper (masking tape or shape stickers can work in a pinch)
*the following are sponsored links*
Instructions:
- Decide what patterns you’d like to create and start cutting out shapes or strips of tape
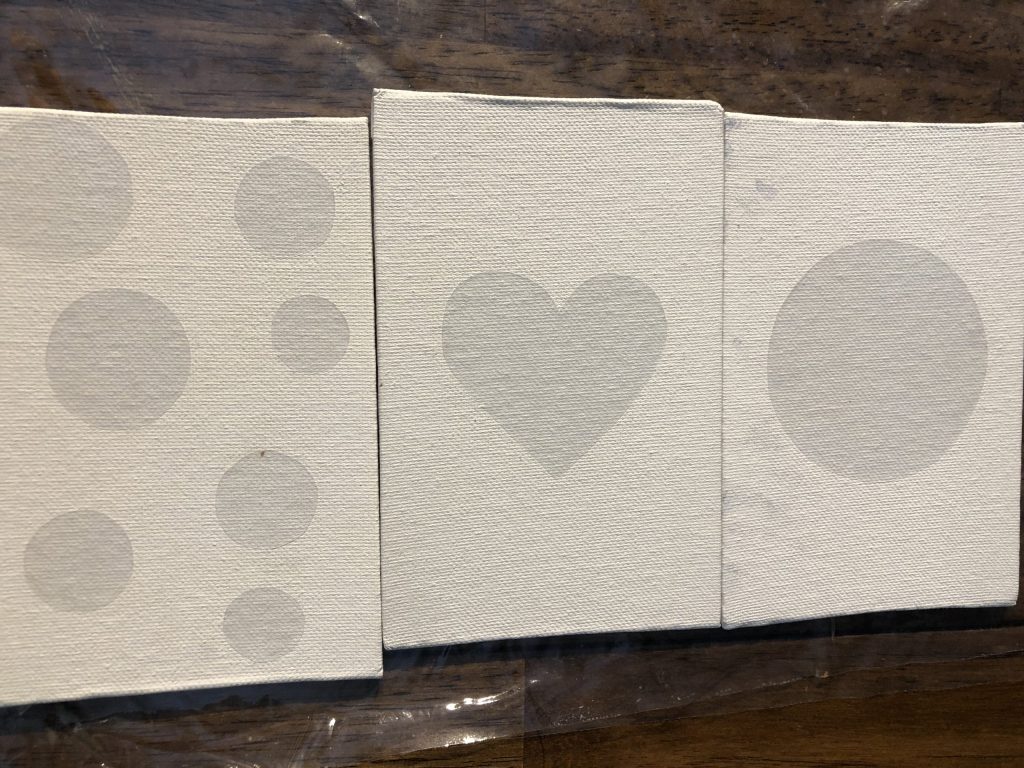
- Stick tape/Con-Tact paper on canvases in desired patterns
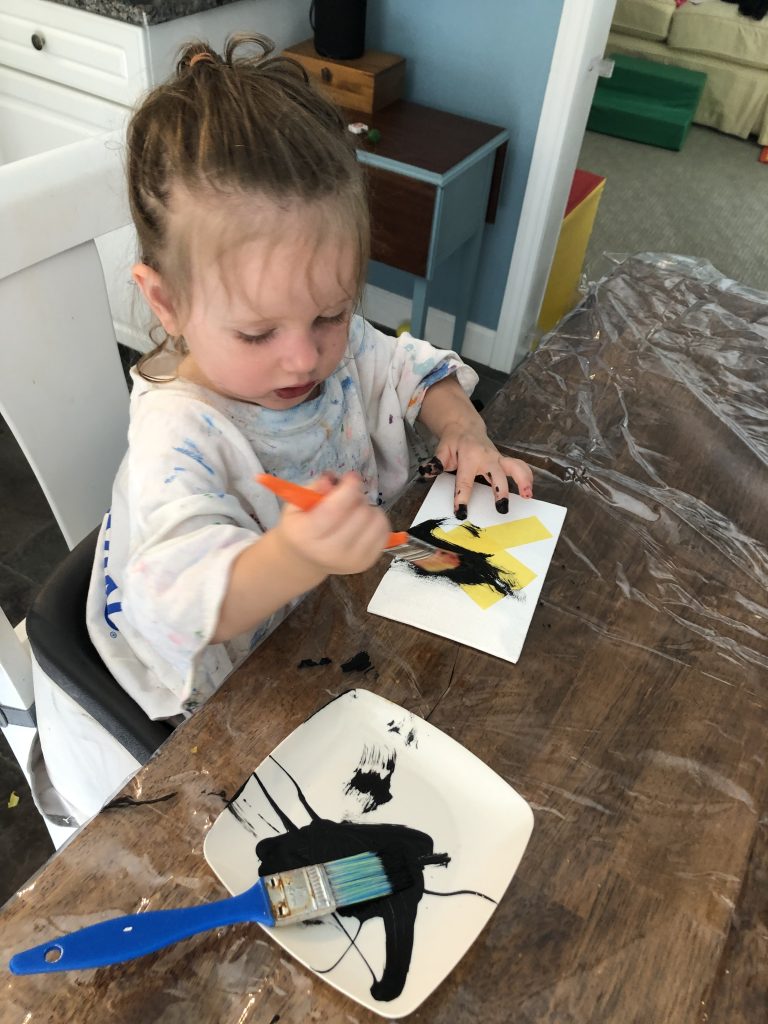
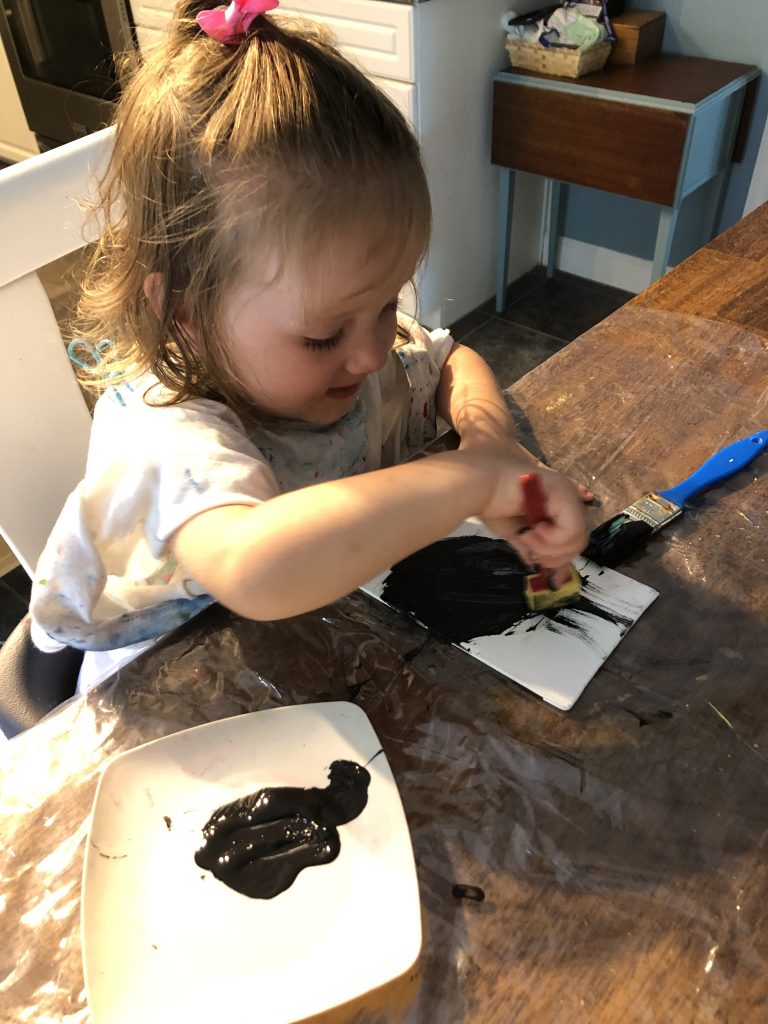
- Paint black paint over entire canvas
- Remove tape and Con-Tact paper (I find it easier to remove when paint is still damp)
- Once dry, you can show child patterns it made and talk about how it’s a gift for the new baby
*the following are sponsored links*
My daughter really had fun doing the different steps of this activity and seeing what patterns the paint-resist art made once it was dry. We are excited to introduce these cards to her new baby sister when she arrives. I hope your child(ren) enjoy making these high contrast cards for their new sibling as well!
This would also make a wonderful, personalized gift for a new mom!