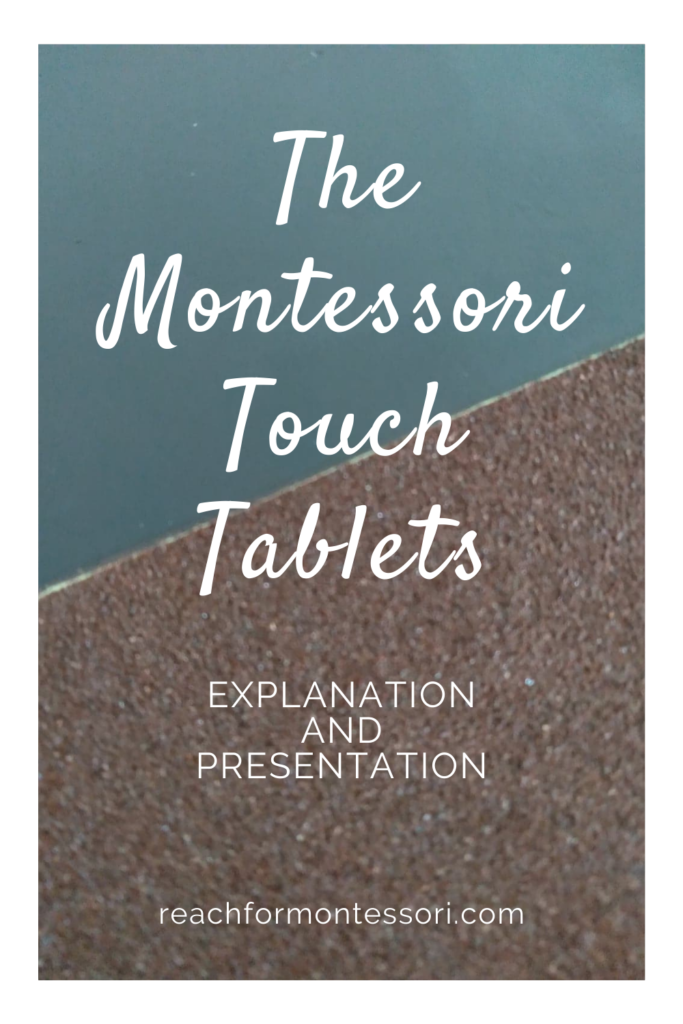
The Montessori Touch Boards are a sensorial material introduced in Montessori primary programs.
This activity is introduced prior to the Sandpaper Letters or Sandpaper Globe, as it helps heighten a child's sensitivity to different textures.
The Montessori Touch Boards
There are 4 rectangular touch boards in a proper set:
- Touch Board 1– two equal squares, one side rough and the other side smooth
- Touch Board 2– ten strips, alternating between rough and smooth
- Touch Board 3– five graded strips, slightly rough to very rough
- Touch Board 4– 5 graded strips, slightly smooth to very smooth

(This post contains affiliate links. Purchasing from these links costs you nothing extra, but sends a few cents our way for website upkeep.)
Aim of activity
- discrimination of smooth and rough textures
Indirect aim
- helps with writing by promoting awareness of the pressure exerted
- helps with control over arms and hands
Points of interest
- feeling the different textures
Vocabulary
- rough, rougher, roughest
- smooth, smoother, smoothest
How to present the Montessori Touch Boards
Prior to presenting tactile activities, such as the touch board, it's important to make sure you and your child have clean hands.
Following hand washing, have your child massage her fingertips and shake her hands.
These steps promote circulation and sensitivity in the hands.

Touch Board 1
- Place the board on the table with sandpaper side to the left
- Run your fingers along the sandpaper side, top to bottom, and say “rough” (x2)
- Run your fingers along the smooth side, top to bottom, and say “smooth” (x2)
- Invite your child to the same with each side, making sure she keeps her fingers within the appropriate square while saying the word
- Support the underside of your child's wrist and ask her to touch each side of the board lightly, then even more lightly
- Let her know she can use this board when she likes
Touch Board 2
- Place the board on the table with the rough strip to the left
- Run your fingers along the first rough strip, top to bottom, and say “rough”
- Run your fingers along the first smooth strip, top to bottom, and say “smooth”
- Repeat this for every strip on the board
- Invite your child to do the same, making sure her fingers stay on the strip that corresponds with the word
- Support the underside of your child's wrist and ask her to touch each strip on the board lightly, then even more lightly
- Let her know she can use this board when she likes
Touch Boards 3 and 4
Touch Boards 3 and 4 should be introduced after the first two, but on another day.
- Place the board on the table with the least rough/smooth strip to the left
- Run your fingers along the strips lightly from top to bottom, saying “rough, rougher, rougher, rougher, roughest”/”smooth, smoother, smoother, smoother, smoothest”
- Invite your child to do the same, making sure her fingers stay on the strip that corresponds with the word
- Support your child's wrist as she exerts varying amounts of pressure
- Let her know she can use this board when she likes (boards are still introduced one at a time)
Montessori Touch Board extensions
- Have your child perform the activity blindfolded or with the boards behind their back
The Touch Tablets are simple and they can easily be made at home using sandpaper and smooth material of your choice.
The overall concept of the activity can be easily implemented at home throughout the day, as well.
Cheers and don't forget to subscribe!
