
At first glance, the Montessori Binomial Cube can be intimidating to teachers, as well as caregivers who are looking to homeschool the Montessori way. Its name alone gives fright to many, as it sounds like a complicated math material.
It's actually not a math material, though, nor is it complicated. It's a Montessori sensorial material that, like many others, refines the skills needed for math and other learning, through hands-on exploration.
Children as young as 4-years old work with this material regularly in Montessori schools around the world, so there's really no need to be intimidated.
In this article, you will learn what the Binomial Cube is, its purpose, and how to present it to a child. You will also get extension activity ideas.
(This post contains affiliate links. Purchasing from these links costs you nothing extra, but helps with our website upkeep.)
What is the Montessori Binomial Cube?
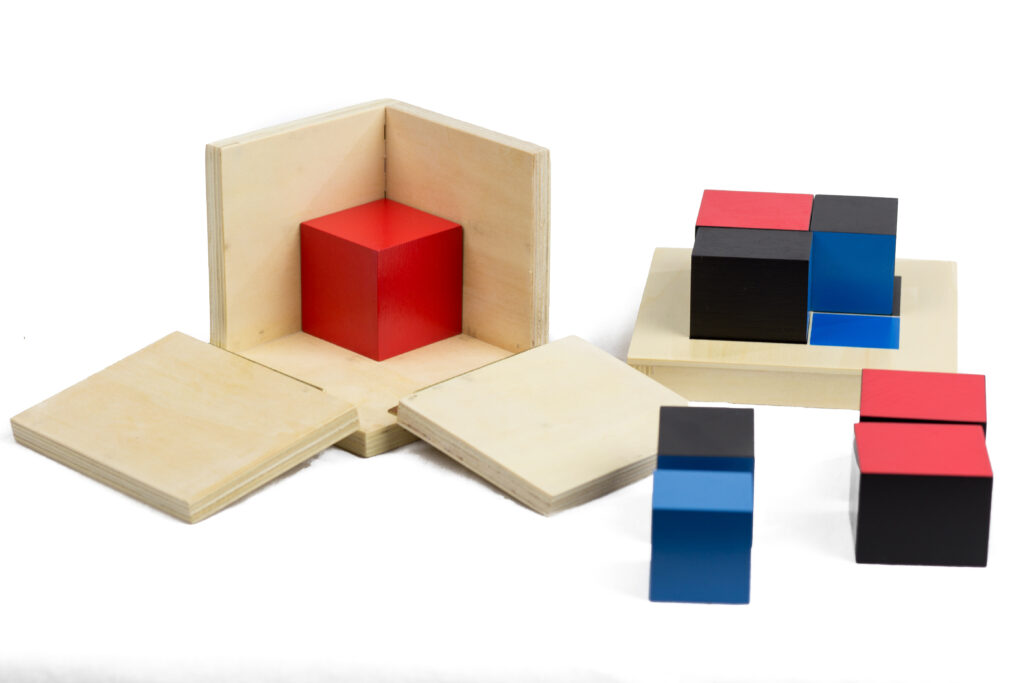
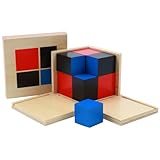
The Montessori Binomial Cube material is a lidded box containing 8 colored wooden blocks (cubes and prisms). The box has hinges on two of its adjacent sides so that the child can see the block pattern.
The pattern on the lid of the box matches the pattern of the blocks inside and is used by the child as a base for constructing the blocks.
The cube has 2 layers of blocks and the pattern of the prisms and cubes represent the binomial equation.

As I said in the introduction, this is not an overly complicated activity. It's actually quite fun for children.
Children are not introduced to the term “binomial equation” during the primary years, nor are they made aware that this work is sensorial preparation for future math.
- 🌱【Interactive Learning】: The Montessori Binomial Cube…
- 💡【Conceptual Understanding】: With eight wooden blocks of…
- 🎉【Sensorial Exploration】: The Binomial Cube encourages…
Aims of the Montessori Binomial Cube
- to help develop visual discrimination (shape, color, pattern)
Indirect aims
- sensorial introduction of binomial equations
Control of error
- the pattern on top of the lid
Points of interest
- matching the blocks to the pattern on the lid
- the patterns on the side of the box
How to present the Montessori Binomial Cube
Note: Be sure the cube is constructed properly prior in its box to introducing this lesson to the child.
- Invite the child to carefully carry the Binomial Cube box to the table.
- Put the box to the upper left corner of the workspace with the patterned sides toward you.
- Take the lid from the box and place it pattern-side-up in front of the child to where the lid's position matches the Binomial Cube.
- Point out the matching patterns of the lid and cube.
- Open the two sides of the box, one at a time, showing the child that the pattern on the lid matches the pattern of the blocks.
- Slide the lid into the corner of the open sides of the box. (Many Montessori teachers do not find this step necessary.)
- Taking the blocks of the Binomial Cube out one by one, starting with the blue cube, recreate that layer on the table in front of the child, then slide it to the top of the workspace, out of the way.
- Show the child how the bottom layer of blocks that remain has the same pattern as the lid.
- Just as you did with the top layer of blocks, rebuild the bottom layer – on the table and in front of the child.
- Form a column with the blocks from the bottom layer, starting with the red cube and keeping the blocks in their orientation. (image below)

- Place the block in the column, left-to-right and top-to-bottom, starting with the red block, onto the lid in their matching positions.
- Transfer the blocks, one by one and in the same order, into the Binomial Cube box.
- Point out to the child that the pattern in the box and on the lid are the same.
- Repeat with the top layer – forming a column, building the pattern on the lid, then transferring the pattern to finish building the Binomial Cube.
- Again, point out the matching patterns on the lid and the completed cube.
- Fold the side of the box, replace the lid, and invite the child to try.
Binomial Cube extension activities
- Building the Binomial Cube without the lid to guide the child.
- Building the cube outside of its box.
- Perform a stereognostic exercise and invite the child to build the cube while blindfolded.
- Cross-section the cube and have the child notice the stacks match each other on the sides that touch.
As you can see, this is not a complicated activity at all. It's a challenging and enjoyable puzzle activity that prepares children for future learning.
Have you introduced the Binomial Cube in your classroom or home? If so, did you find the child(ren) enjoyed it?
Cheers and don't forget to subscribe!
Recently introduced it to my 2.5 year old. She is nowhere near being able to solve it independently, but she loves trying to help me do it.
It’s great that she’s interested. Generally, the binomial cube is not introduced until around the age of 4, earlier if the child is ready.