In this article, you will get a basic overview of how Montessori geography lessons are presented. You will also learn how to present the Montessori Land and Water Forms.
Montessori Land and Water Forms
Children learn best when they are using their hands and minds at the same time.
This method of learning stimulates multiple areas of the brain simultaneously and encourages focus and engagement.
That is why it's so important to provide concrete representations and hands-on learning activities for young children, when possible.
The Montessori Land and Water Formations activity is a great example of hands-on learning.
When it comes to math and science, it's not so difficult to come up with these sorts of activities.
With math, you can use raisins, beads, or beans to represent numbers.
With science, it's impossible not to use your hands and concrete materials when performing an experiment.
(This post contains affiliate links. Purchasing from these links costs you nothing extra, but sends a few cents our way for website upkeep.)

How can I teach my young child about land and water formations?
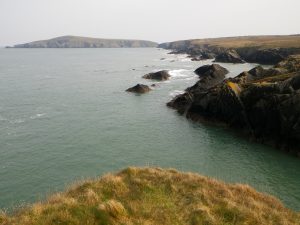
But what about geography? How do you give a concrete representation of something as massive as a lake or an inlet?
Of course, you can take your child to an actual lake or inlet, but they are only going to get a view from the edge of the water.
They can only imagine what lies beyond their view.
Montessori geography
To give children a concrete representation of the different land and water forms, the Montessori Method of presenting this is probably the best way to go.
In a proper Montessori environment, the Sandpaper Globe would be introduced before this activity.
However, there is no reason you can't do this activity with your child after they are familiar with a map and/or a regular globe.
Remember, you don't have to go “full Montessori”. There is nothing wrong with doing some Montessori activities here and there.
Your child will reap the benefits either way.
Montessori Land and Water Formations is a fun way to teach your child about geography
Not only will this activity help your child understand geography better, but it's also an entertaining way to do it.
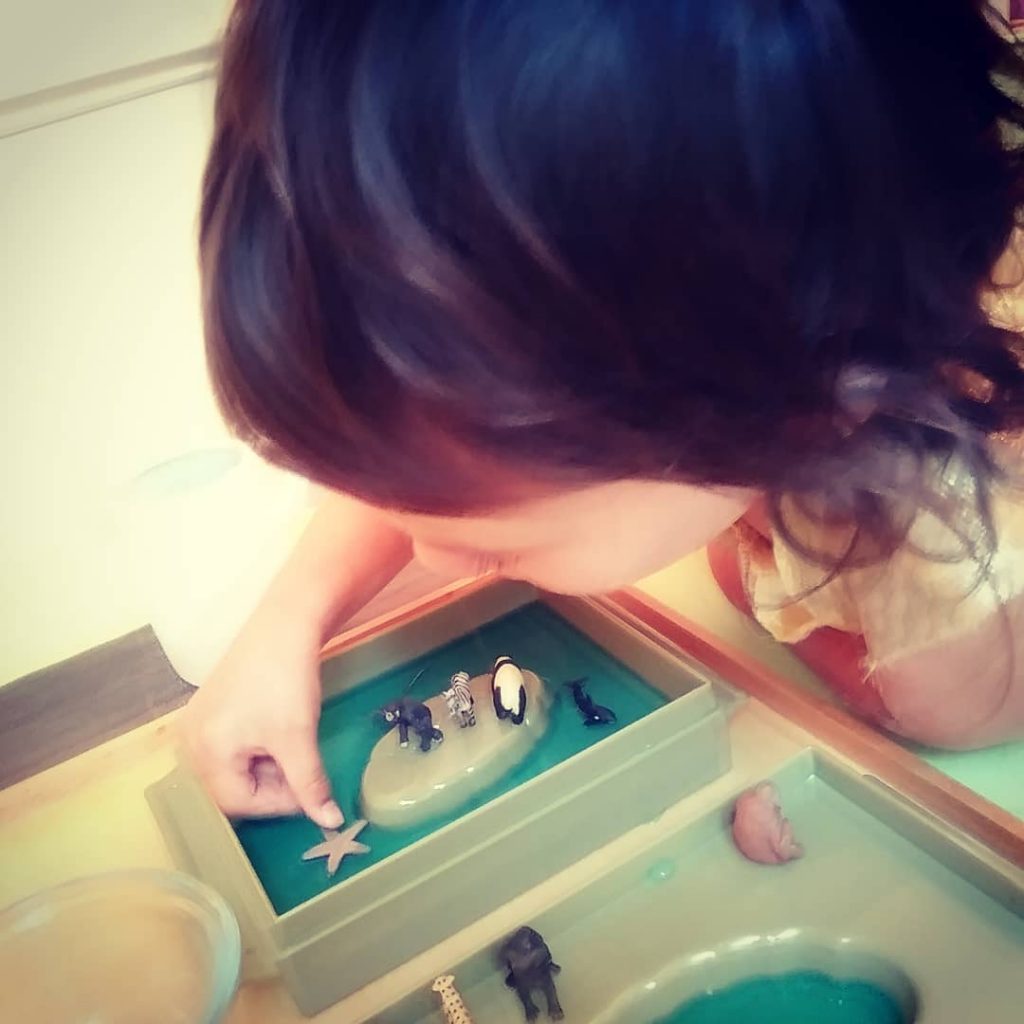
This activity is probably my daughter's absolute favorite Montessori activity. Of course, because it involves water and tiny figurines of water and land animals.
Vocabulary for the Land and Water Forms
This activity will enrich your child's vocabulary, not just through the definitions (below), but through the conversation that happens during the presentation.
The vocabulary and definitions for the 8 main land and water forms that go along with this activity are as follows:
Island– A landform that is surrounded by water and that is much smaller than a continent.
Lake– A body of water that is surrounded by land and that is larger than a pond and smaller than an ocean or a sea.
Peninsula– A long sliver of land that is just into the ocean and is surrounded by water on three sides.
Gulf– Part of the ocean that is mostly surrounded by land.
Isthmus– A thin strip of land that connects two larger land masses.
Strait– A narrow passage of water between two masses of land.
Cape– A landform very similar to a peninsula, but smaller and shorter.
Bay– A body of water that is partially enclosed by land with a wide opening to the ocean.
Practical Life and Land and Water formations
The great thing about this activity is it involves as much Practical Life as it does geography.
The child gets to pour the water into the forms, and then gets to dry the forms and figurines when the lesson is over.
Onto the activity.
The Montessori Land and Water Forms Presentation
For this activity, you can make your own formations using paper plates, modeling clay, and blue paint or purchase them here.
For this activity, you will need some blue-colored water in a small pitcher, a drying cloth, and several small objects in a basket. (Land and Sea Animals, boats, people, etc.)
You are going to present the Land and Water Forms in converse relation during a given lesson.
So, if you are going to present an island, you will present a lake, as well.
1– Have your child pour some blue water from the pitcher into the lake form.
2– Explain to them, “This is called a lake.” Give them a short explanation about how a lake is a body of water completely surrounded by land.
3– Have your child pour some blue water into the island form.
4– Tell them, “We call this an island.” Then, explain how an island is a landmass totally surrounded by water.
5– Ask your child to compare the forms, and talk about the differences with them.

6– Have your child remove an item from the basket and ask them to place it where it belongs, on the land, water, or air.
Discuss their choice with them and let them continue to place the items until the basket is empty.
When the activity is over, have your child place the objects on a drying cloth, empty the forms in a sink, and then dry the forms and small items with the cloth.
Geography, Practical Life, and fun, all in one activity.
I hope you and your child have as much fun with this activity as we did.
Cheers, and don't forget to subscribe!
Pingback: Which Montessori Training is Best? – Parenting with Purpose
My sister did AMI training I think they used blue and red Squqre cards schematically showing shapes of these , blue for sea and red for land . As I typed out her notes I never Saw them but they might have texture (sanded paper?) as well to further distinguish the red land from blue sea